How to Uninstall OpenClaw, Revoke Access and Remove Data You Can’t Just Delete OpenClaw — Here’s How to Remove It
Tech How to Install n8n Using Docker Compose and Caddy (with HTTPS) 1. Start With a Clean Server * Deploy a Docker Droplet from the
Artificial Intelligence Get ChatGPT Client for macOS, Windows and Linux Are you looking for a fast, lightweight, and easy-to-use ChatGPT client for
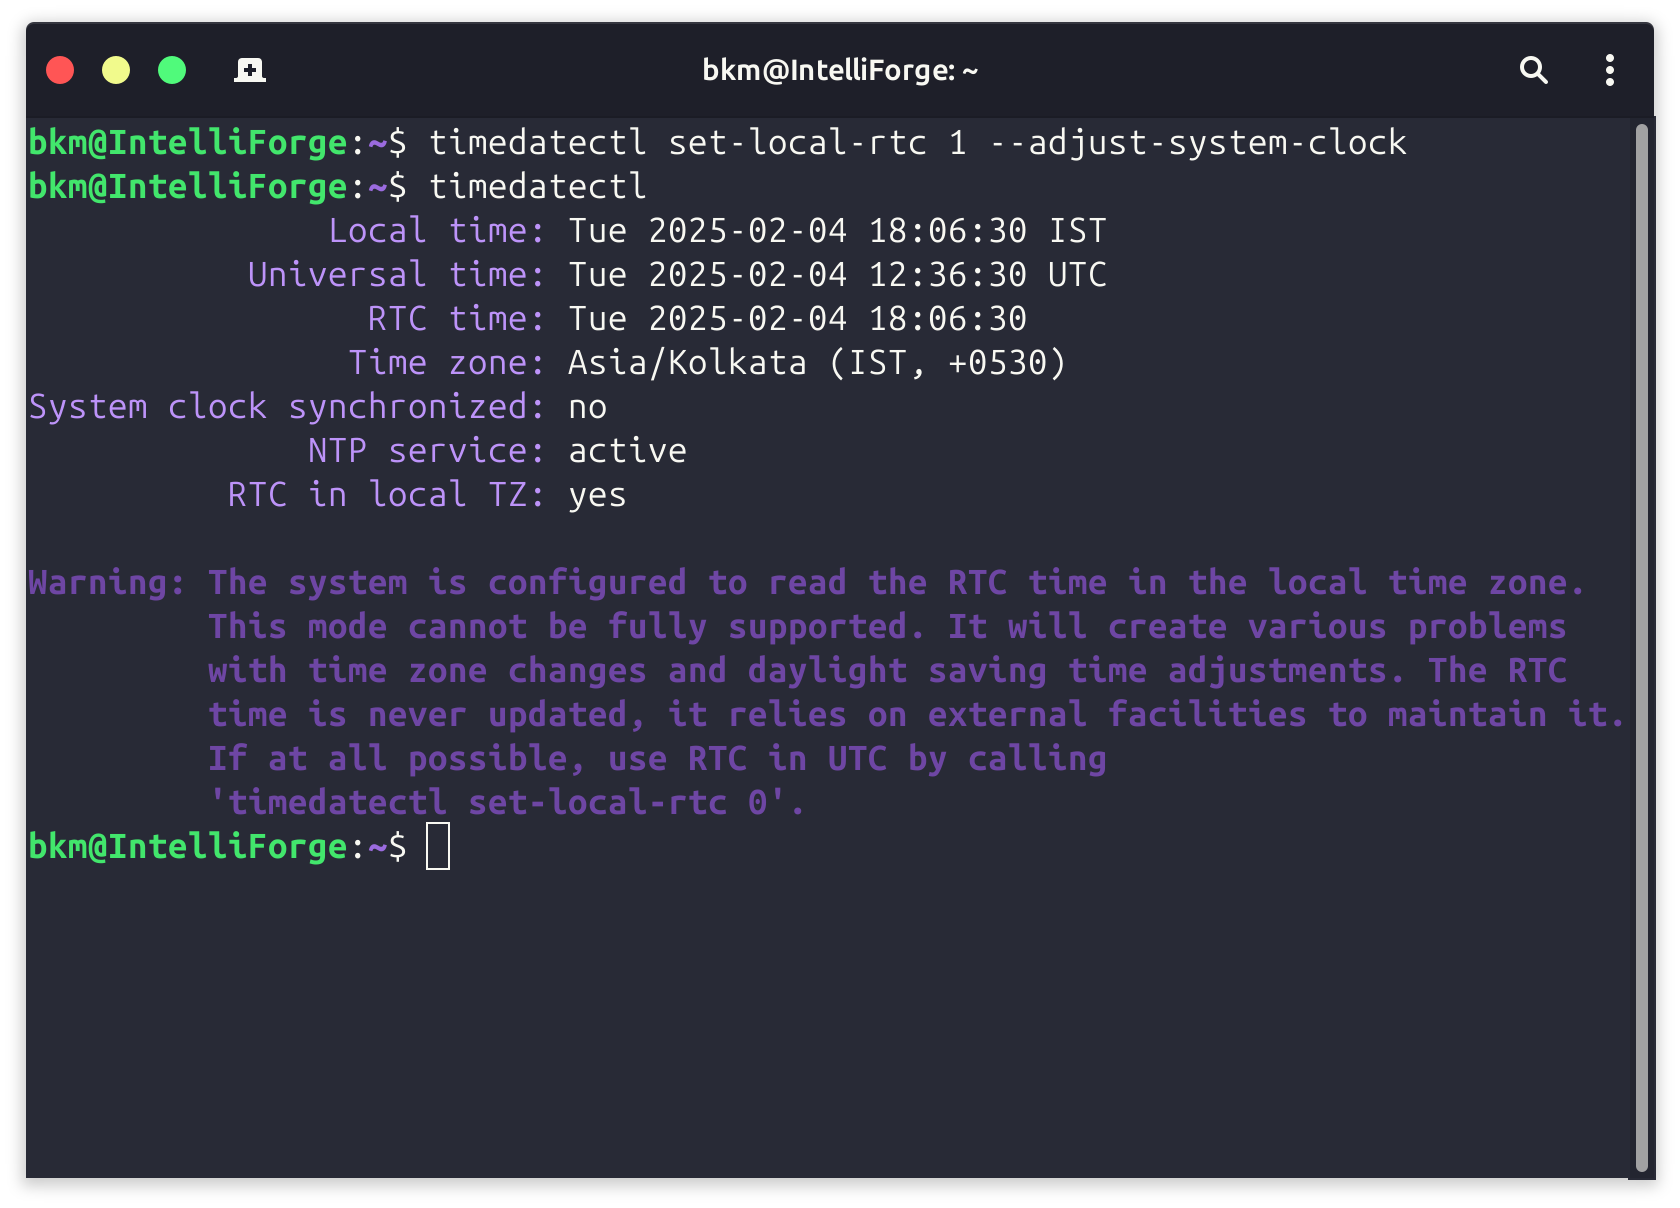
Tech Solving Date/Time Issues in Dual Boot (Windows/Ubuntu) If you’re experiencing date and time issues in Windows after dual-booting
Tech How to use Linux Machine as a Second Display for Your Mac Using UxPlay AirPlay Client How to Use UxPlay to Turn Your Linux Box into a Second
Tech Never self-host NS Records, Use CloudFlare Domain Disaster Averted: Why You Should Think Twice Before Self-Hosting Your Name
Tech Unlock Seamless SSH Access: Choosing Your Default SSH Key Tired of typing your SSH key passphrase every time you connect to
Apple How to install Apache, MySQL and PHP on macOS in 2025 We showed you how to start macOS's built-in Apache server.
Apple Enabling the In-Built Web Server on macOS 14 Sonoma / 15 Sequoia [Updated 2025] macOS 14 Sonoma provides a robust platform for web development, allowing you
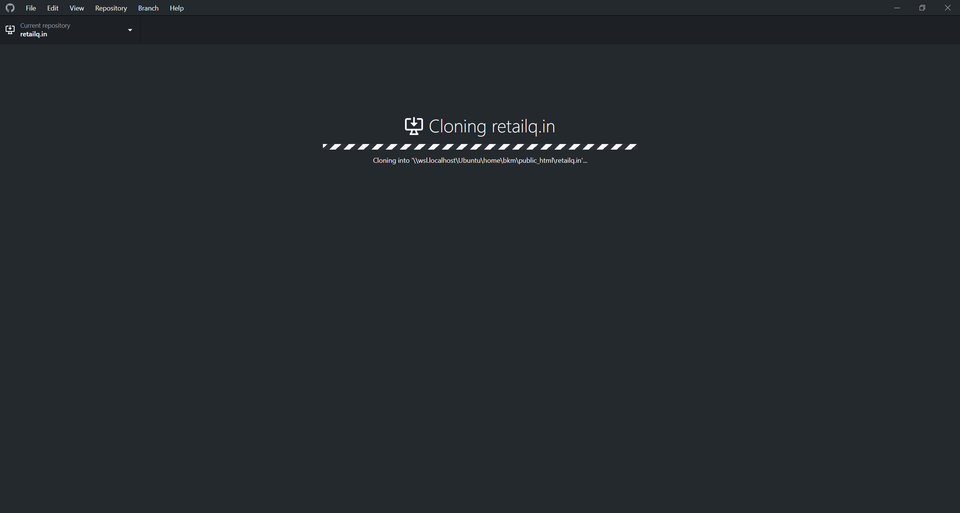
Linux Using GitHub Desktop for Windows with WSL for Seamless Web Development As a developer, I love the flexibility of having both Windows and
Linux How to Install ERPNext 15 on Ubuntu 22.04: A Step-by-Step Guide [Update 2025] This guide provides a comprehensive walkthrough of installing ERPNext version 15 on
Tech Conquering VirtualBox: Taming the Beast for Seamless Virtualization My Setup: * Rig: HP Omen (i7, 40GB RAM, 1TB SSD, Nvidia 3070)
![How to Install ERPNext 15 on Ubuntu 22.04: A Step-by-Step Guide [Update 2025]](/content/images/size/w960/2025/08/cebed29e77d94f648793aaff2cd852d6544ef8d0.png)