In this installation we’ll be using Docker to run PhotoPrism instance.
Install Docker
n
Update the repo to get latest versions
sudo apt updateInstall the latest version
sudo apt install docker.ioSet Docker to start on startup
sudo systemctl enable --now dockerGive your user permissions to docker, replace with your username
sudo usermod -aG docker usernameTest it has installed correctly by getting the docker version
docker --versionInstalling Docker Compose
This downloads 2.16.0, just change this if the version updates to a later version
sudo curl -L "https://github.com/docker/compose/releases/download/2.16.0/docker-compose-$(uname -s)-$(uname -m)" -o /usr/local/bin/docker-composeGive permissions to this
sudo chmod +x /usr/local/bin/docker-composeTest it has installed correctly by getting the docker-compose version
docker-compose --versionInstalling Photoprism
Download the latest docker-compose.yml for Photoprism
cd && wget https://dl.photoprism.org/docker/docker-compose.ymlChange the default admin password in the docker-compose.yml file and also location of pictures if not in ~\Pictures.
sudo nano docker-compose.ymlFind the line
PHOTOPRISM_ADMIN_PASSWORD: "insecure" # PLEASE CHANGE: Your initial admin password (min 4 characters)And replace it with your own secure password.
PHOTOPRISM_ADMIN_PASSWORD: "sv3G$bt5DG4h4" # PLEASE CHANGE: Your initial admin password (min 4 characters)For the photo’s location, find the line
# Multiple folders can be indexed by mounting them as sub-folders of /photoprism/originals:n# - "/mnt/Family:/photoprism/originals/Family" # [folder_1]:/photoprism/originals/[folder_1]Under this add the path to your pictures volume, followed by :/photoprism/originals/identifyingname changing identifyingname for something specific to you.
# Multiple folders can be indexed by mounting them as sub-folders of /photoprism/originals:n# - "/mnt/Family:/photoprism/originals/Family" # [folder_1]:/photoprism/originals/[folder_1]n- "/media/path/to/pictures:/photoprism/originals/identifyingname"Start the server, this may take a few minutes.
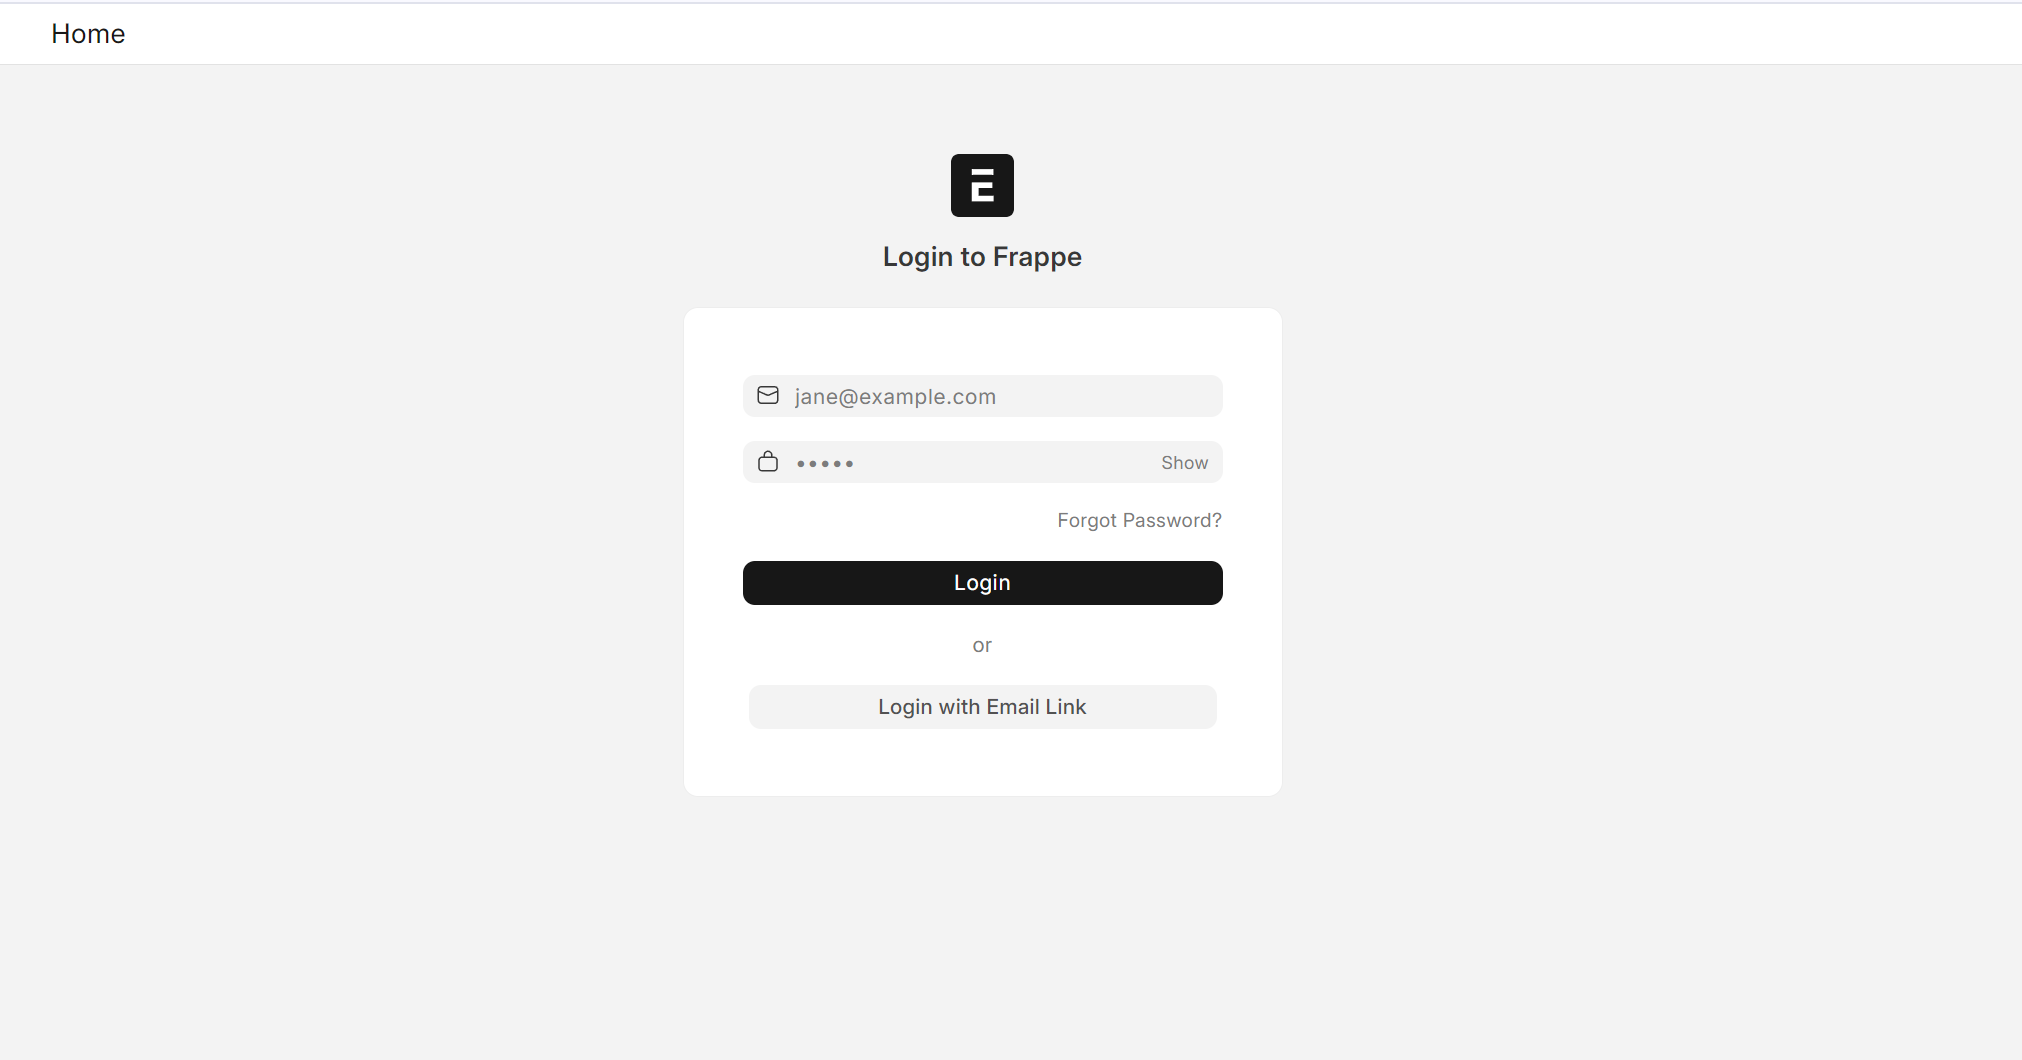
docker-compose up -dOnce complete, browse to http://serverip:2342. You will get the screen below, enter your Password you created in the config file above.
nn

Bulk Delete Images
Once logged in, go to Settings and enable Delete Option.
n

HACK: To Select Multiple images at once, use SHIFT + CLICK
nn
Move images to Archive and then from Archive Delete all the photos at once.

Archive Option is located in the Search SubMenu.
nn
Pros:
- n
- Easy to deploy
- Light Weight
- Uses Tensor Flow for image labelling
n
n
n
Cons:
- n
- No multiple Users support
n
